Adding and Deleting Partitions
PARTITIONING A DISK
Using disk partitioning, system administrators can divide a hard drive into multiple logical storage units, referred to as partitions
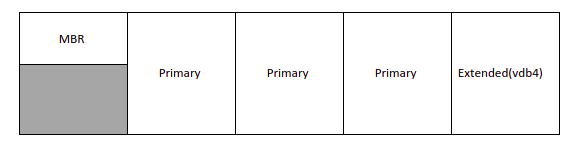
MBR Partitioning Scheme
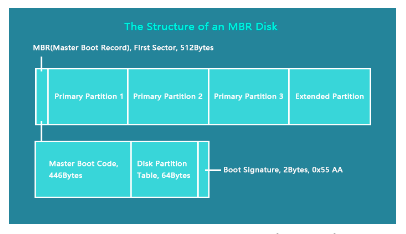
- The MBR partition supports a maximum of four primary partitions.
- On Linux systems, with the use of extended and logical partitions, administrators can create a maximum of 15 partitions.
- A GPT provides a maximum of 128 partitions.
- GPT allocates 64 bits for logical block addresses.
- GPT offers redundancy of its partition table information.
MANAGING PARTITIONS WITH PARTED
- Administrators can use the Parted partition editor for both the MBR and the GPT partitioning scheme.
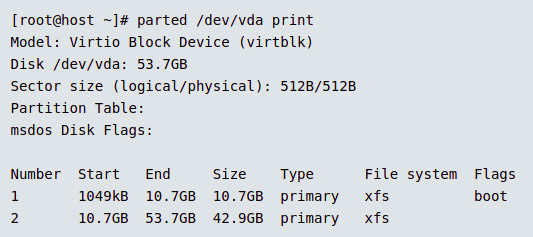
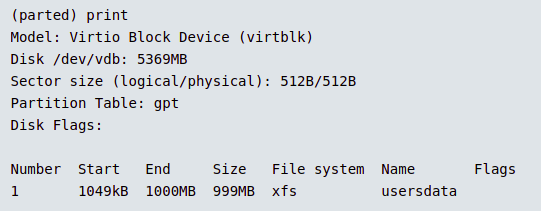
Using ‘print’ subcomment to display the partition table on the /dev/vda disk.
#parted /dev/vda print
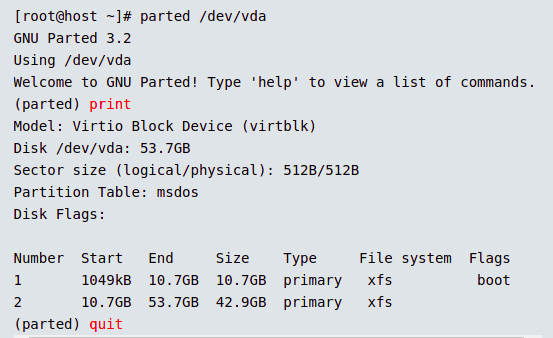
- If you do not provide a subcommand, parted opens an interactive session for issuing commands
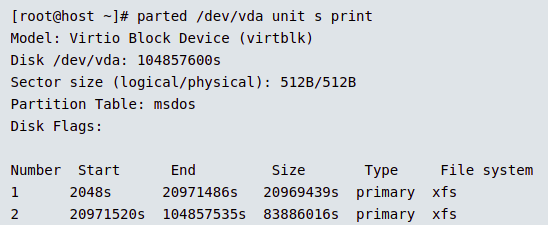
By default, parted displays all the sizes in powers of 10 (KB, MB, GB). You can change that with the unit subcommand
- s for sector
- B for byte
- MiB, GiB, or TiB (powers of 2)
- MB, GB, or TB (powers of 10)
Example: #parted /dev/vda unit s print
Writing the Partition Table on a New Disk
You must first label a new drive to determine which partitioning scheme to use.
To write an MBR disk label to a disk.
#parted /dev/vdb mklabel msdos
To write a GPT disk label, use the following command.
parted /dev/vdb mklabel gpt
You should only use mklabel when you want to reuse the disk and do not care about the existing data. If you change the partition boundaries, data in existing file systems will be inaccessible.
Creating MBR Partitions
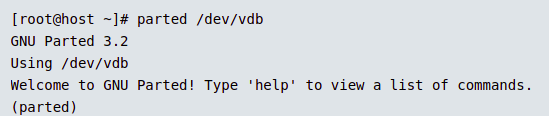
step 1: Specify the disk device to create the partition on.
#parted /dev/vdb

step 2: Use the mkpart subcommand to create a new primary or extended partition
mkpart

Note :For situations where you need more than four partitions on an MBR-partitioned disk, create three primary partitions and one extended partition. This extended partition serves as a container within which you can create multiple logical partitions.
step 3: Indicate the file-system type that you want to create on the partition, such as xfs or ext4.

step 4: Specify the sector on the disk that the new partition starts on.

step 5: Specify the disk sector where the new partition should end.

step 6: Exit parted.

step 7: Run the udevadm settle command. This command waits for the system to detect the new partition and to create the associated device file under the /dev directory.
#udevadm settle
 Note: As an alternative to the interactive mode, you can also create the partition as follows:
#parted /dev/vdb mkpart primary xfs 2048s 1000MB
Creating GPT Partitions
The GTP scheme also uses the parted command to create new partitions
step 1: Specify the disk device to create the partition on.
#parted /dev/vdb
step 2: Use the mkpart subcommand to start creating the new partition. With the GPT scheme, each partition is given a name.

step 3: Indicate the file system type that you want to create on the partition, such as xfs or ext4. This does not create the file system on the partition; it is only an indication of the partition type.

step 4: Specify the sector on the disk that the new partition starts on.

step 5: Specify the disk sector where the new partition should end.

As soon as you provide the end position, parted updates the partition table on the disk with the new partition details.
step 6: Exit parted.
quit
step 7: Run the udevadm settle command. This command waits for the system to detect the new partition and to create the associated device file under the /dev directory.
#udevadm settle
 As an alternative to the interactive mode, you can also create the partition as follows:
# parted /dev/vdb mkpart usersdata xfs 2048s 1000MB
Deleting Partitions
The following steps apply for both the MBR and GPT partitioning schemes.
1. Specify the disk that contains the partition to be removed. As the root user, execute the parted command with the disk device as the only argument to start parted in interactive mode with a command prompt.

2. Identify the partition number of the partition to delete.
3. Delete the partition.

The rm subcommand immediately deletes the partition from the partition table on the disk
4. Exit Parted

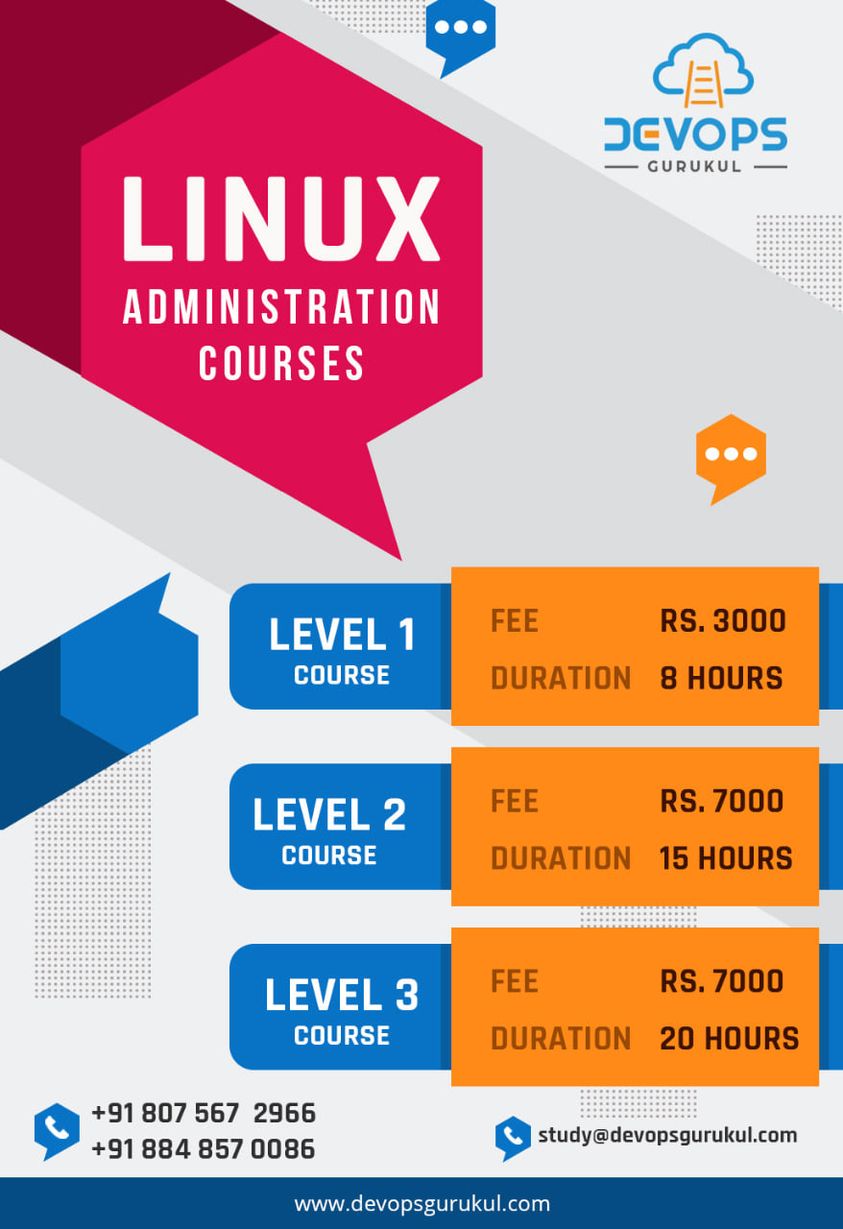
DevOps Gurukul is one of the Best online Linux Course in Kerala. You will be in the right hands to help you and guide you to be successful in what you do. Join the Complete RedHat Linux Training Course with us and Happy learning!